Just like the Tunisian Knit Stitch (tks), the Tunisian Purl Stitch (tps) is a real head scratcher! When seen from the right side of the work you won't believe that the piece isn't knitted. But we promise, it is made with a hook!
Those of you who are knitters will know that if you make a purl stitch on the right side you will have a knit stitch on the wrong side (and vice versa) However in Tunisian Purl Stitch the wrong side and right side look very similar to each other. Rows of Tunisian purls create a fabric that looks very much like knitted garter stitch (knit every row). And in the same way that garter stitch is the least curly of the knit stitches, Tunisian purl stitch curls the least of all the Tunisian stitches so makes a good edging or background stitch.
The Tunisian purl stitch is worked like the Tunisian simple stitch but the yarn is held at the front of the work, this is what creates the purl like “bump” in the fabric. So lets see how that looks...
How to work the Tunisian Purl Stitch (tps)
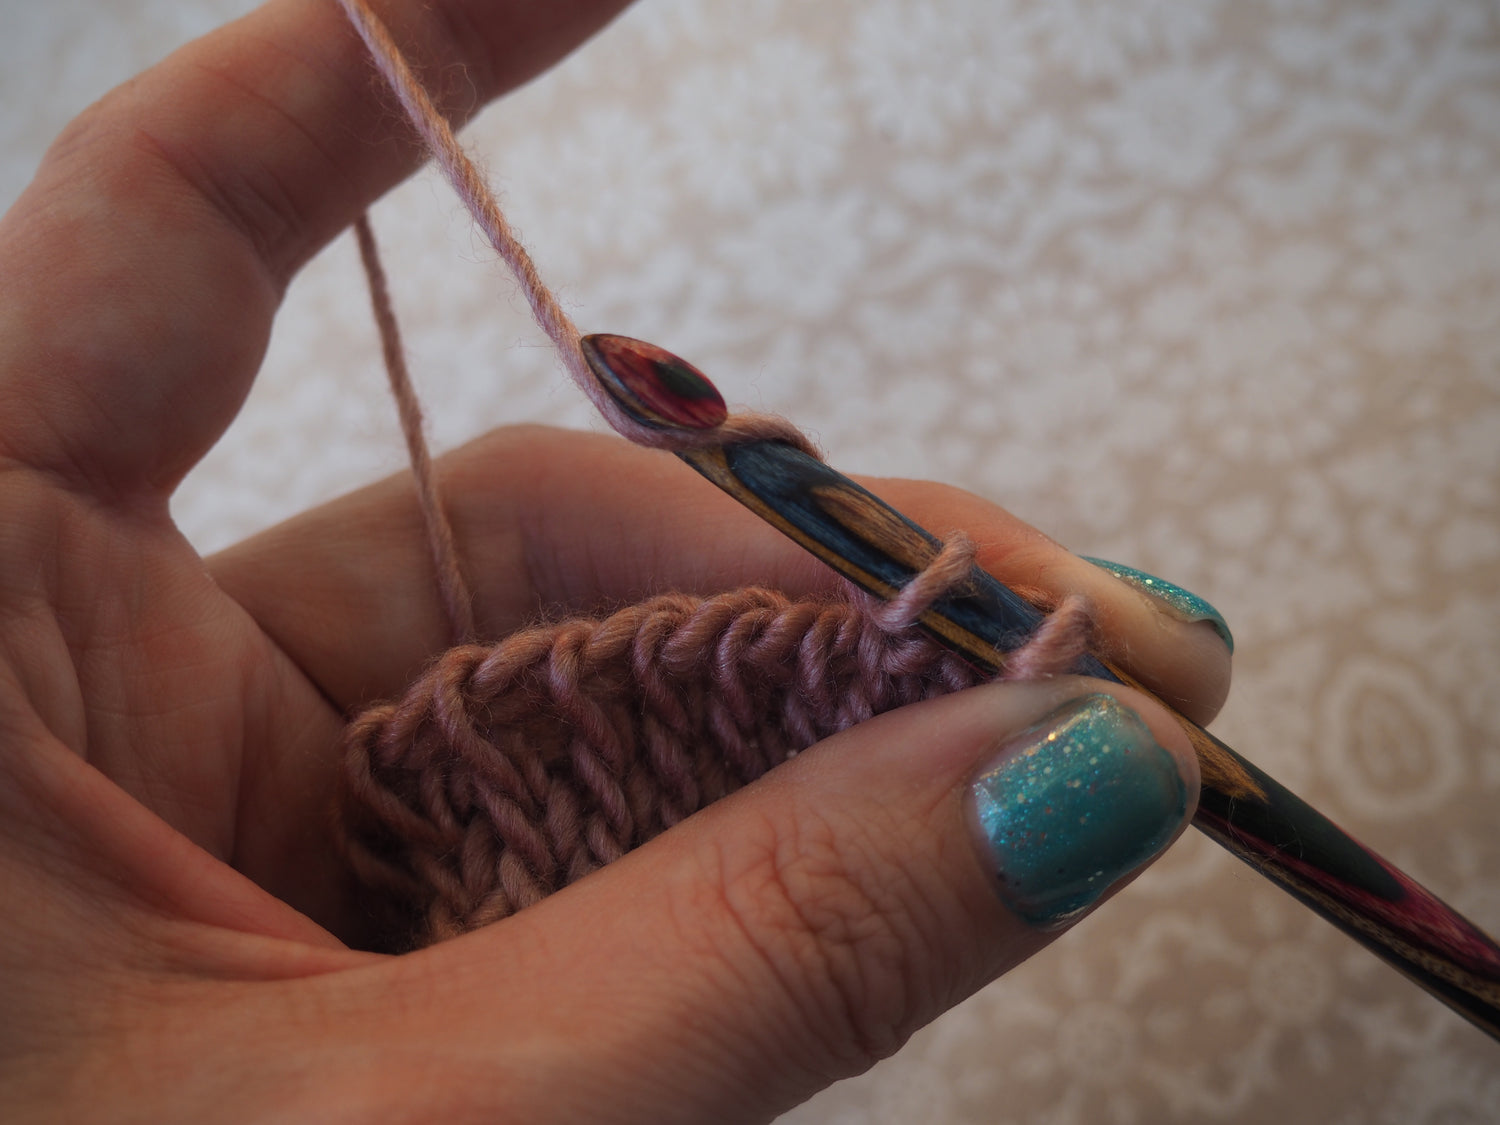
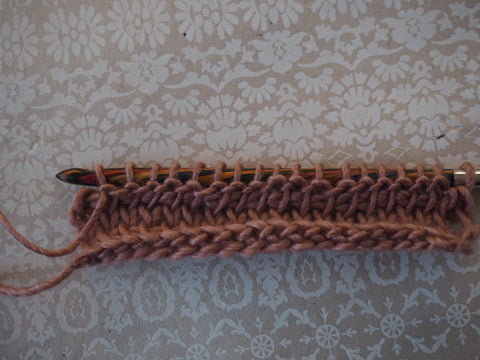
All Tunisian crochet stitches are formed by working in various ways between the two vertical strands of the stitch. There is a strand towards the front of the work and one sat behind it. In this picture you can see the vertical strands at the front.

Starting with a completed foundation row as above (tutorial here), hold the yarn at the front of the work. Ignoring the first stitch of the row your loop on the hook acts as the first stitch of the row.
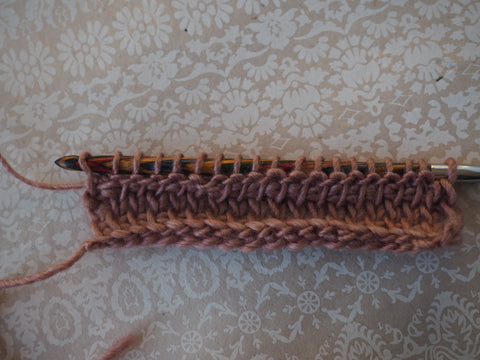
Note: the rest of the tutorial pictures show me working above a row of Tunisian knit stitch rather than into the foundation row but the principle is exactly the same and will show you how subsequent rows build up.
Step One: With yarn in front, insert your hook from right to left, under the vertical bar of the stitch of the row below.

Step Two: Yarn over

and draw up a loop.
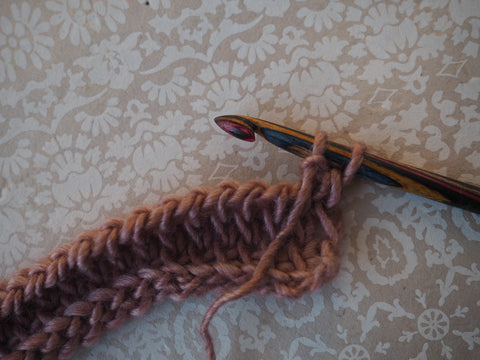
Step Three: Repeat steps one and two for each stitch to the last stitch.
Step Four: Insert hook into the chain one you made at the start of the return pass and draw up a loop.
Step Five: Work a return pass by yarning over, pulling through one loop on the hook to start then work the rest of the row by making a yarn over and pull through two loops. (photo tutorial here) When you have just one loop remaining on the hook your row is complete.

Want to learn more? Why not join us in class!? Our course, Tunisian Crochet: Basics and Beyond, is an exploration of Tunisian Crochet techniques that takes you from first stitches through to following charts and patterns to create some gorgeous samples that build into a colourful cowl.
If you are ready to give Tunisian Crochet a try here are our selection of patterns and books that contain at least one Tunisian Crochet pattern
This tutorial was originally written and photographed by Joanne for a series of articles published in Love Crochet magazine and is reproduced with permission.
Leave a comment
All comments are moderated before being published.
This site is protected by hCaptcha and the hCaptcha Privacy Policy and Terms of Service apply.