Tunisian crochet looks and sounds like a whole new craft from the way people talk about it. But the big secret is, if you can already crochet you can definitely learn Tunisian crochet really easily! Starting with a look at the history, this tutorial will get you started on the skills you need.
The history of the craft is a little obscure and despite the name there is no definite connection to the middle east. It has also been known as Afghan crochet, shepherds work, railroad knitting and royal princess work (because Queen Victoria was fond of it apparently.) Instructions for Tunisian crochet began appearing in magazines around 1800 and while it waned in popularity during the 20th century it is currently seeing a big growth in interest.
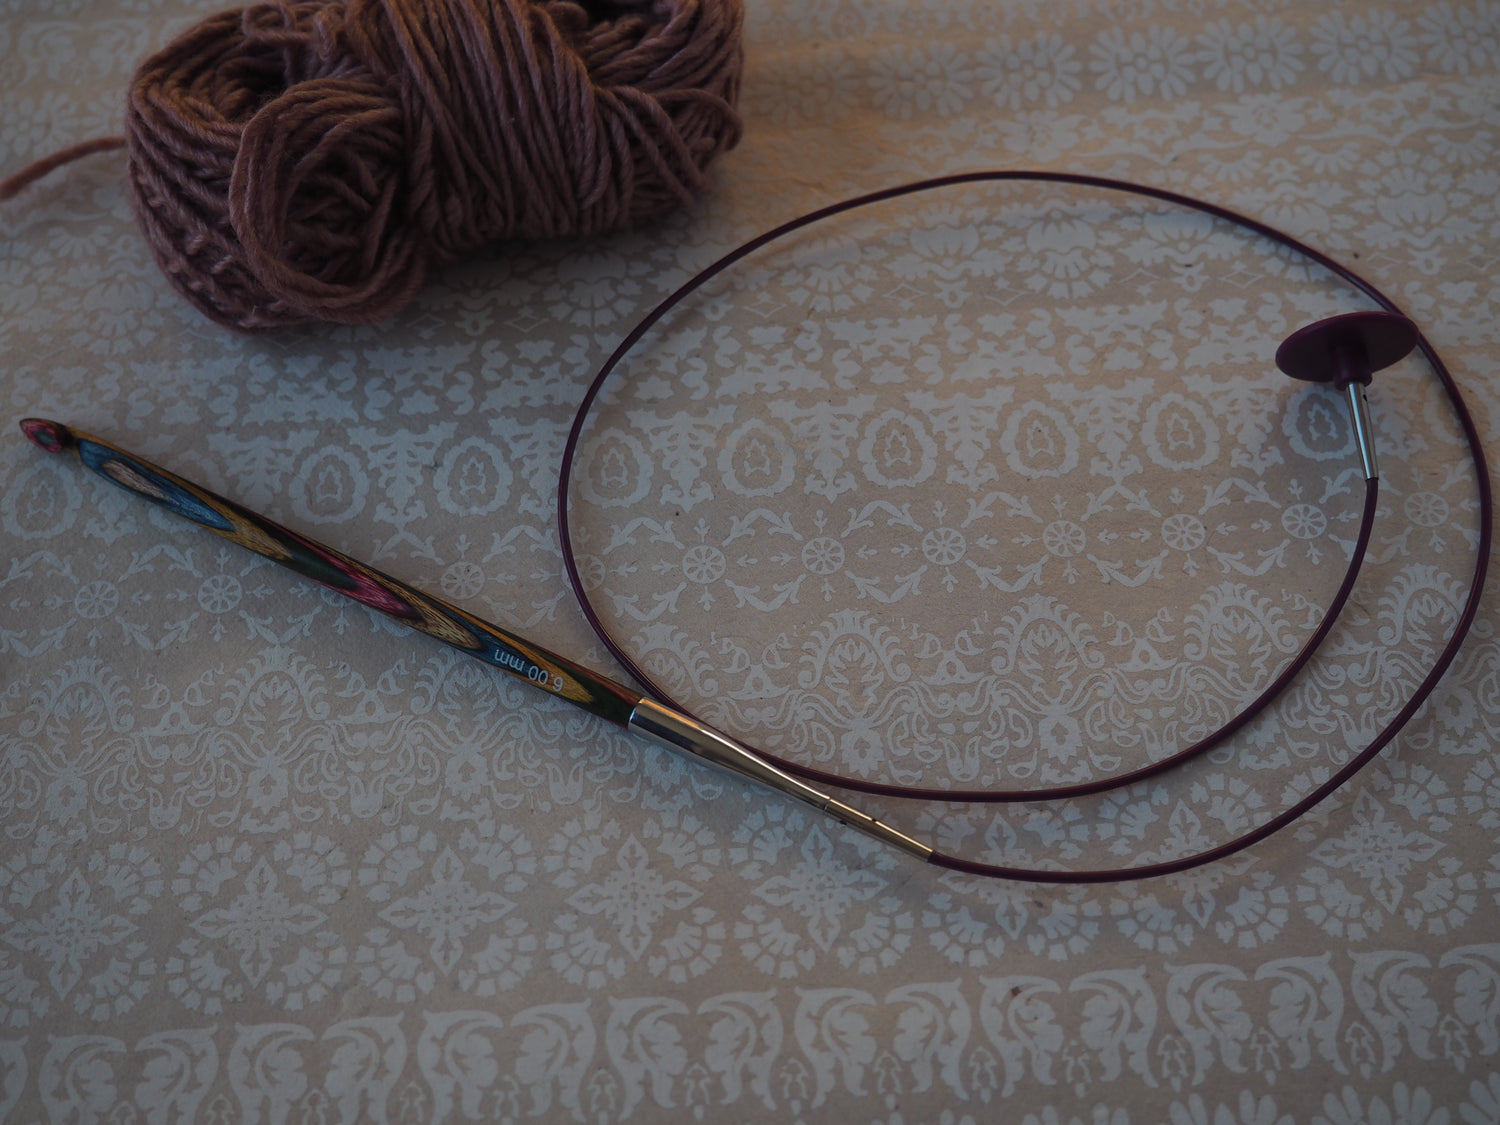
Tunisian crochet is worked with a long hook with a stopper, you can choose a straight hook or one with a long cable attached. For small segments of tuisian crochet you can often work with a normal crochet hook that has a long neck.
The work is never turned in Tunisian crochet, stitches are built up worked from right to left across the piece in what is known as the forward pass and then a return pass is worked from left to right. Working in the round can be achieved with a hook on each end of a cable.
The fabric created is not like either knitting or crochet although at first glance the Tunisian knit and Tunisian purl stitches look very like knitting. The fabric created is very thick, dense and squishy and not very elastic. Tunisian crochet uses more yarn than crochet or knitting, because the fabric created is thicker (so a fair comparison can't really be made.) You'll generally need to use a much bigger hook (at least 2mm bigger) than you would for crochet in the same weight yarn to avoid the thick fabric becoming too stiff and to minimise curling.
So lets dive in and learn how to make our first row and return pass:
How to work the foundation row forward pass
Step One: Make a chain as you normally would for crochet. Chain length should be the number of stitches you would like in the piece, ie for 15 stitches, chain 15.

Step Two: Insert your hook into the chain as you would to crochet (this can either be through the front of the chain or the back bumps provide a neater starting edge.)

Step Three: Yarn over and draw up a loop through the chain.

Step Four: Repeat steps two and three for each chain. You should now have as many loops on the hook as you had chains. Each loop on the hook is a stitch.
You have now completed the foundation row forward pass and ready to work the return pass.
How to work the return pass (RP)
Step One: Yarn over and pull through the first loop on the hook. This is making a chain 1.

Step Two: Yarn over and draw through two loops on the hook

Step Three: Repeat step two until only one loop remains on the hook.

You've just finished your first return pass and so completed your first row of Tunisian crochet! See I told you you could do it!
Luckily this return pass is the same no matter which stitch you have worked so you'll be using this after every row you work. The foundation row is complete and how you work the next forward pass will depend which stitches you want to work. We'll cover those in other tutorials.
Want to learn more? Why not join us in class!? Our course, Tunisian Crochet: Basics and Beyond, is an exploration of Tunisian Crochet techniques that takes you from first stitches through to following charts and patterns to create some gorgeous samples that build into a colourful cowl.
If you are ready to give Tunisian Crochet a try here are our selection of patterns and books that contain at least one Tunisian Crochet pattern
This tutorial was originally written and photographed by Joanne for a series of articles published in Love Crochet magazine and is reproduced with permission.


2 comments
Mitzi
I love this tutorial!! Thank you SO much! I have always wanted to learn this stitch!!!!!
Mitzi Privette
Thank you SO much for this!!!! I have been wanting to learn this and what an easy step by step process! Thank you. Mitzi
Leave a comment
All comments are moderated before being published.
This site is protected by hCaptcha and the hCaptcha Privacy Policy and Terms of Service apply.