Interlocking crochet was a technique I had been meaning to try for absolutely ages, but I out it off as all the resources I found at first made it look really tricky.
I finally took the plunge earlier this year and I am so glad I did, it's my new favourite technique and the possibilities are endless.
I'm hoping I can explain it to you in a way that doesn't put you off for years and gets you going right away! So this is the first of a series of tutorials and in this one we'll look at what Interlocking Crochet is and how to set up ready to work it.
So, what is interlocking crochet?
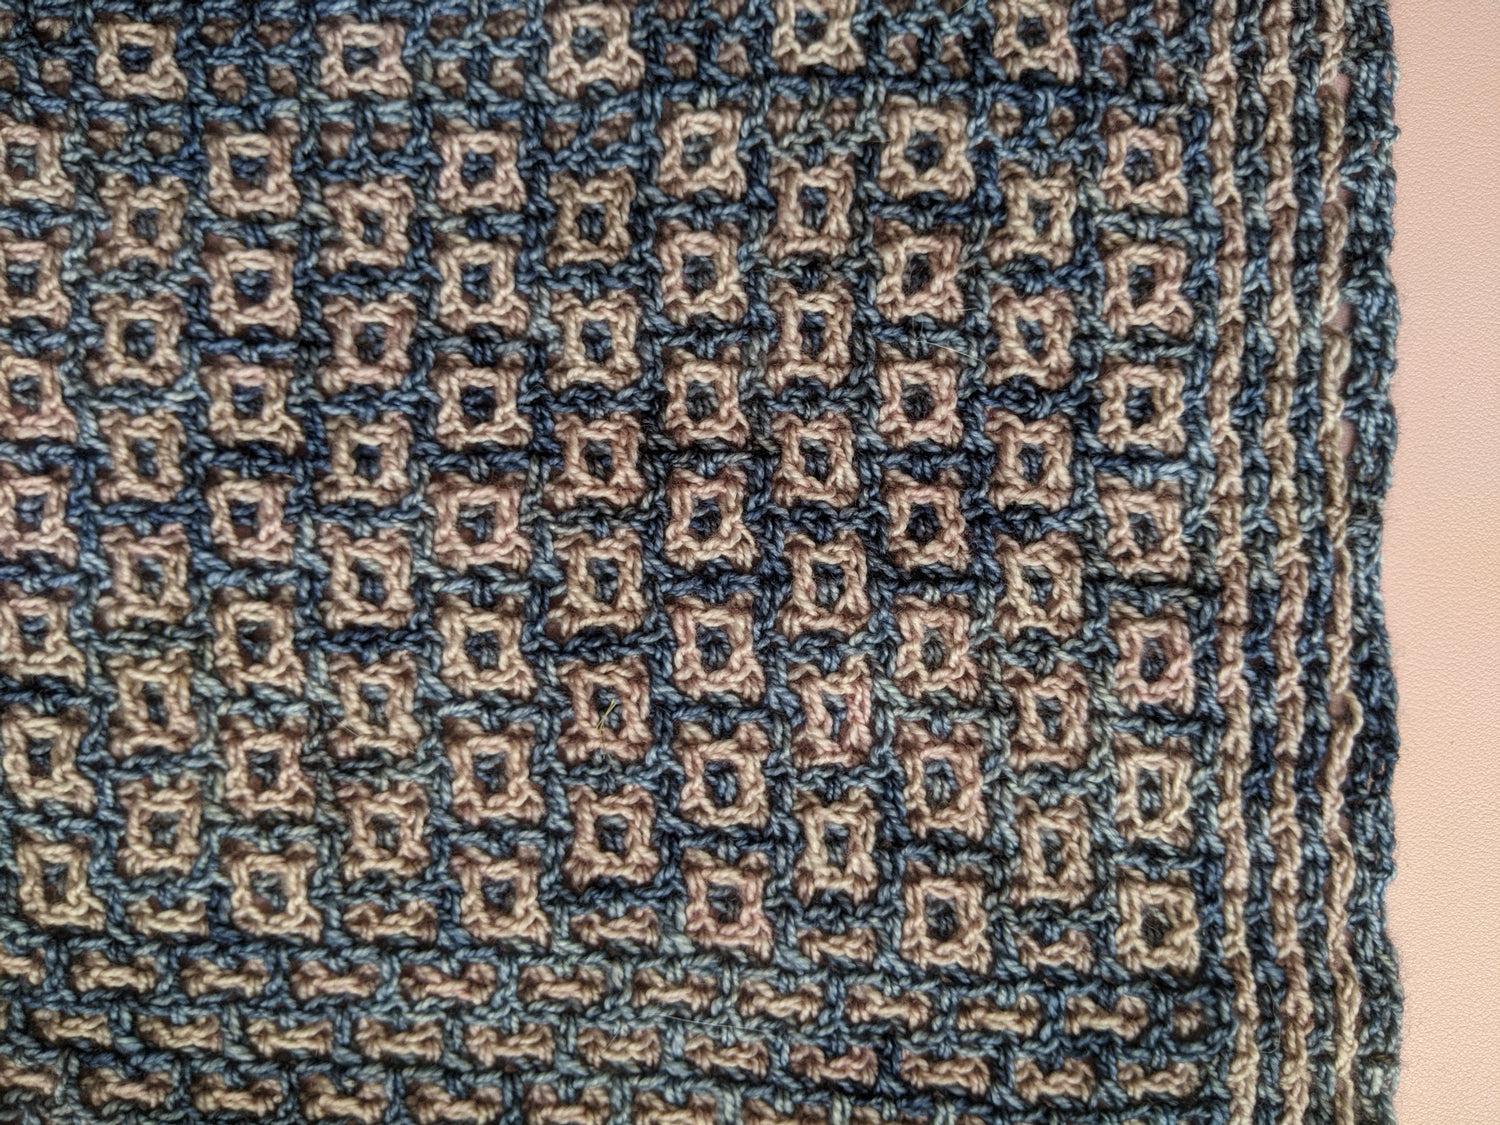
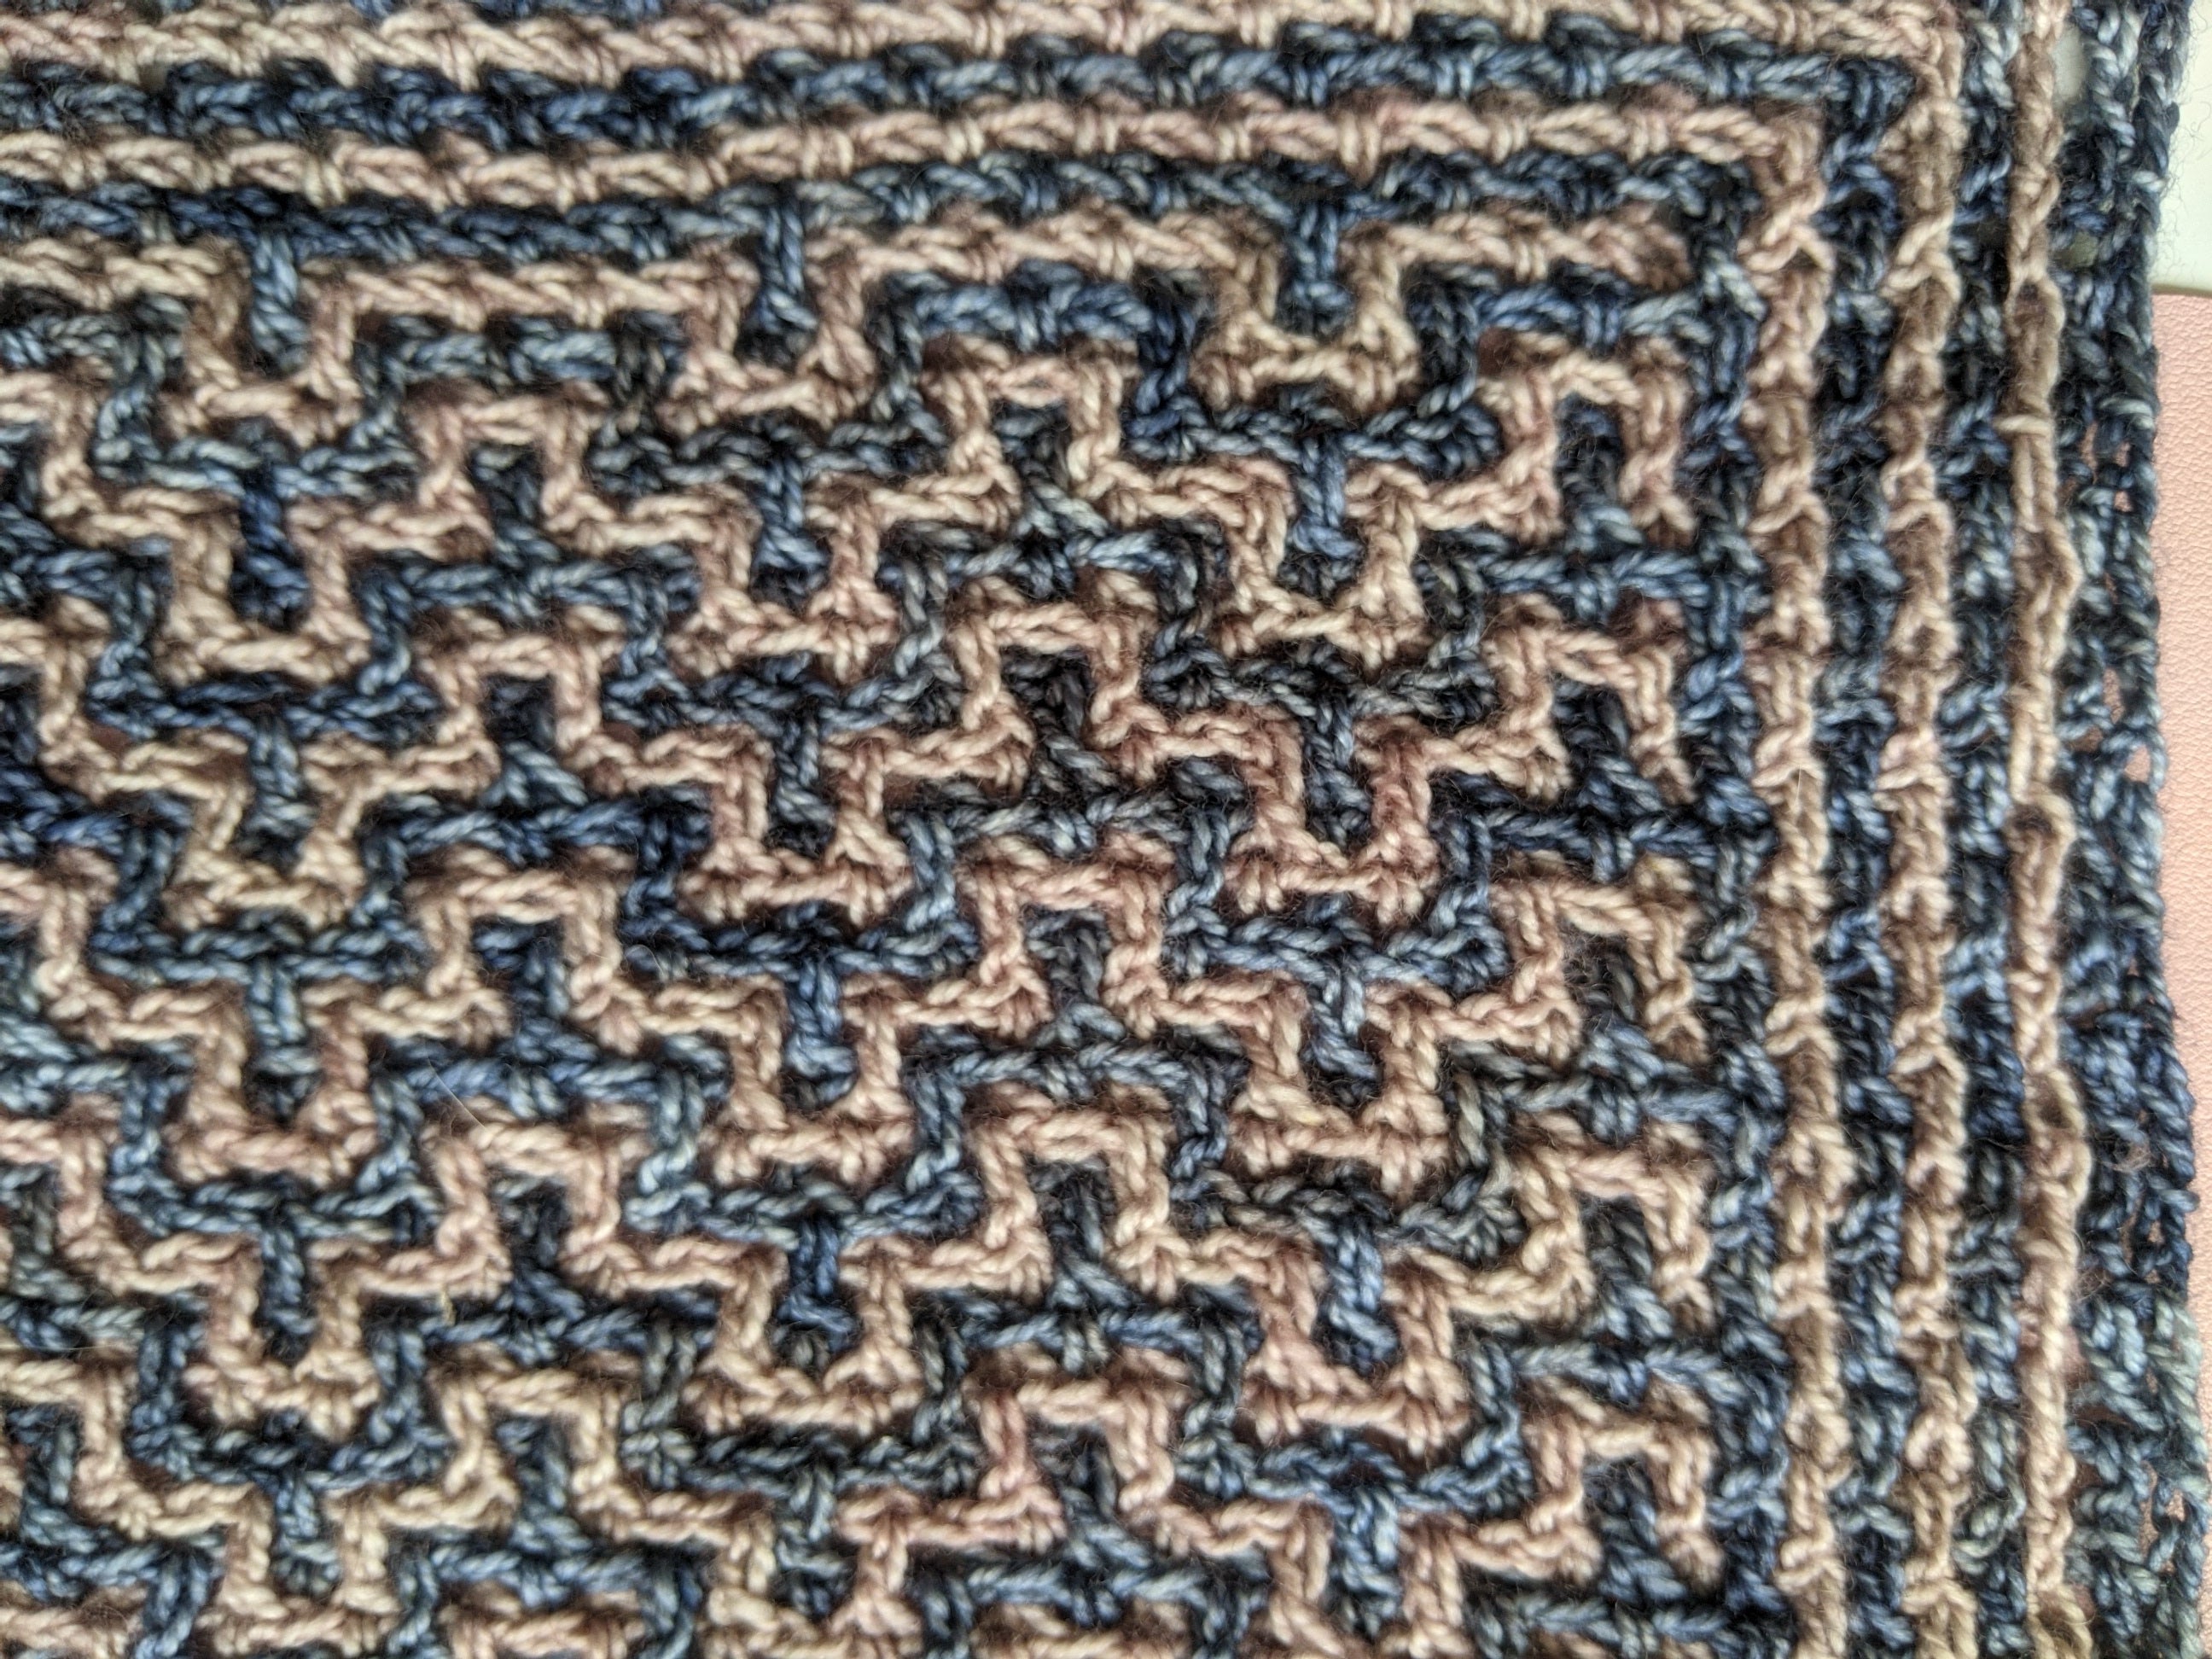
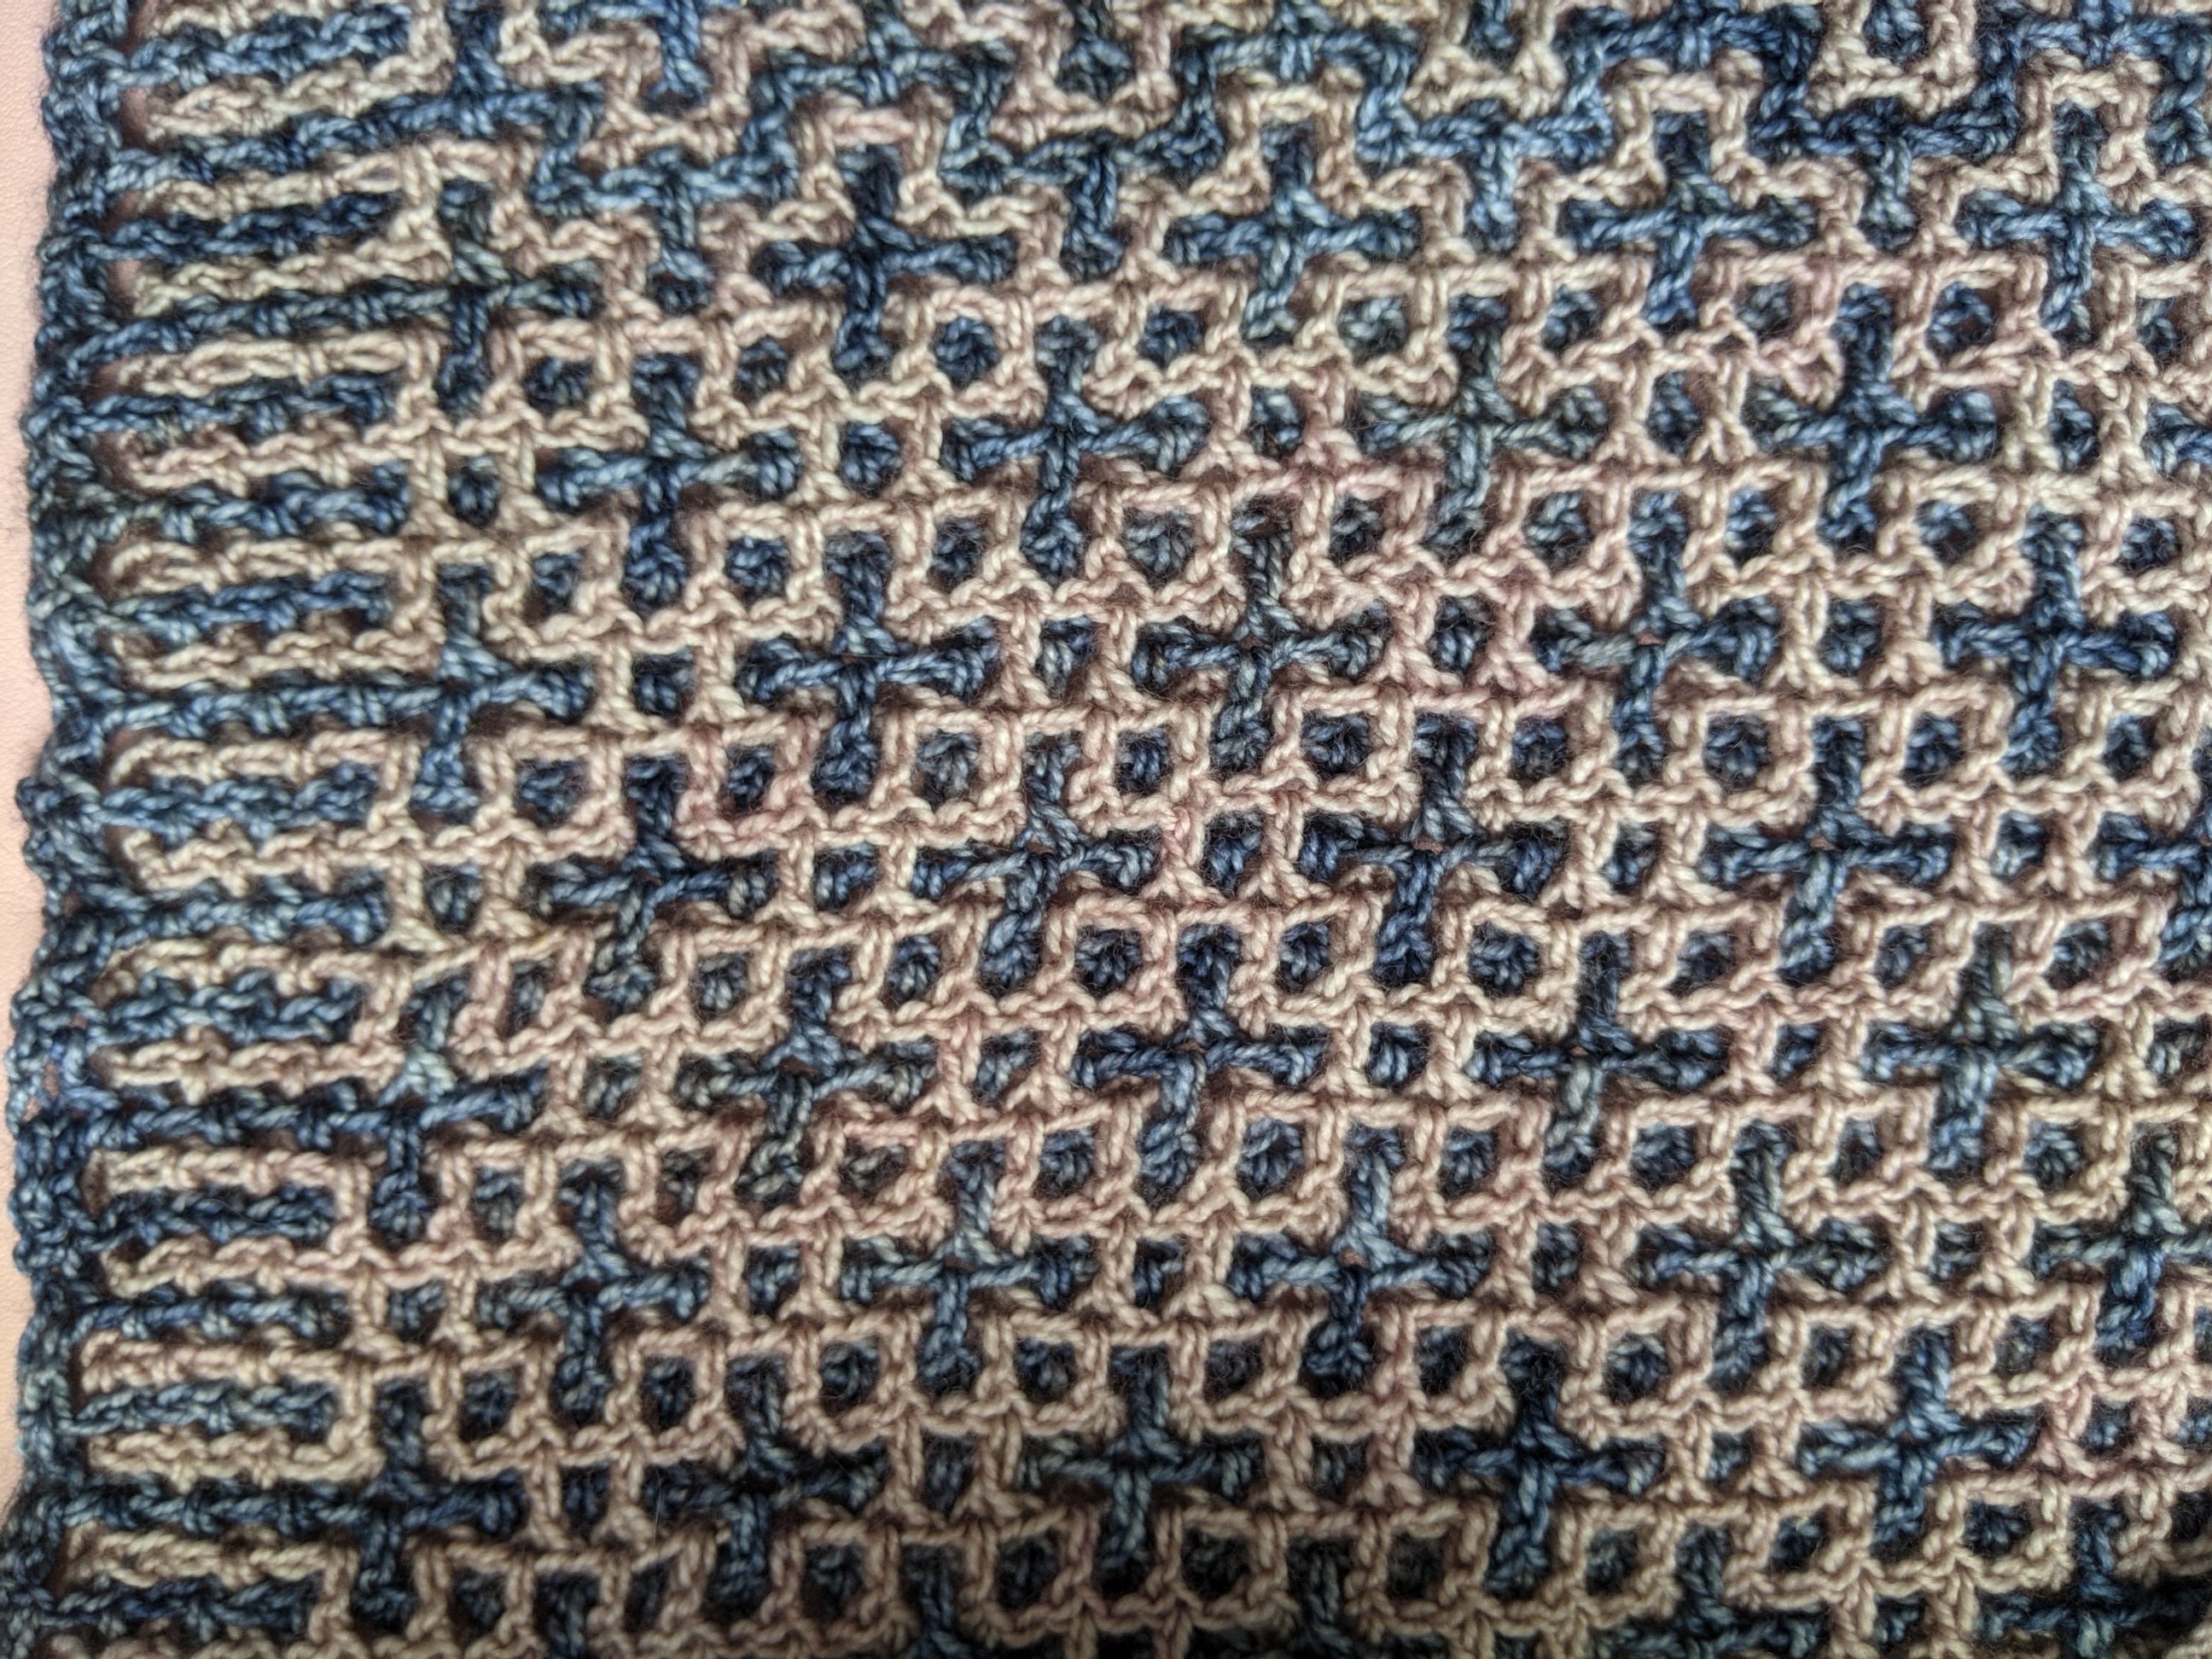
Interlocking crochet is a technique that creates a two sided, two colour pattern. It lends itself well to bold geometric patterns.
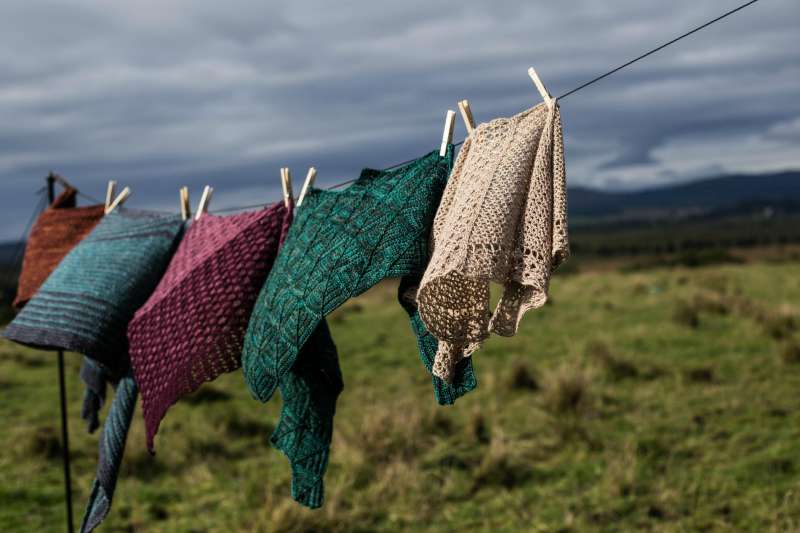
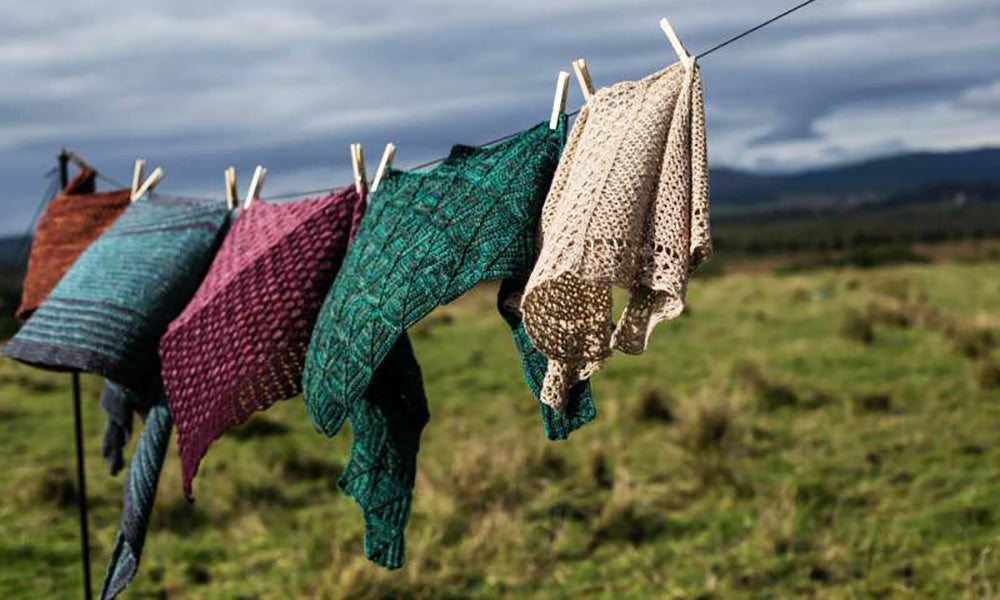
You may have come across filet crochet (I used a basic filet mesh to create the Direction of Travel shawl (which is then decorated with surface crochet)) In filet crochet trebles and chains are worked to create a mesh that has open and closed blocks to form a lace pattern.

The basic filet mesh uses only open blocks. Interlocking crochet is created by working two filet crochet meshes, one of each colour, at the same time.
The meshes are worked so that they are weave in and out of each other and this is what forms the patterns.
The mesh created in yarn A will be one block larger than the yarn B mesh so that they the stitches of one line up with the spaces of the other.
What are the advantages of interlocking crochet over mosiac crochet?
Interlocking crochet forms patterns that you could achieve using mosiac or stranded crochet techniques but I think it offers several advantages:
- Its double sided, you can have different patterns on each side (although they rely on each other so this must be planned)
- You only ever work into the same colour. I find that working different colours into the tops of stitches doesn't give a very clean look in mosiac crochet.
- You don't have to change colour multiple times in a row. Changing colour mid-row for mosiac crochet is time consuming because you have to switch over on the last step of the stitch, interlocking crochet works up faster by working the two colours in one pass each.
- It is easier to get it to drape nicely. Mosiac crochet is generally worked on double crochet (US single) and at a fairly tight tension to avoid the carried yarn showing which makes it harder to get enough drape for shawls or clothing. Interlocking crochet although it is thicker with two layers drapes well because of the taller stitches and the looser construction method.
What skills do I need?
Interlocking crochet only uses the basic stitches - trebles (US double) and chain. You'll need to be able to do these and read a crochet pattern. then its just about mastering the art of working in front or behind the other colour mesh
What tools and materials do I need?
Interlocking crochet only uses standard crochet items. You'll need two colours of yarn, a hook of the right size and I highly recommend having a removable stitch marker to pop into the unused yarn loop each time you switch colours. This vastly reduces the risk of your work unravelling as you go.
Choosing a yarn
You want a yarn that will bloom slightly on blocking. Anything billed as good for cables will fit this requirement. Its very important that the two colours have a strong contrast so you can see the pattern clearly or they will fade into one another and I think it will work best if they are the same type of yarn so the contrast is only in colour not in texture.
Let's get started!
How to set up for interlocking crochet

Interlocking crochet normally starts with creating the first row of each mesh separately (as above) and then dealing with the edge later. When I first learnt to do the technique I found this very tricky to both understand and to not miss stitches as the two grids slid around so much before they were fully attached so I am very grateful to Pia Thadani of StitchesnScraps.com for sharing, and allowing me to use, this clever method of starting.
Step 1:
In yarn A, create a row of double crochet (US single crochet) by chaining and working into that chain or by working a chainless foundation row (as in this picture) as an example I've worked 21dc.

Turn your work.
Step 2:
Continuing in yarn A. Work as follows into the row of stitches (UK terms)
Ch1, *1dc, ch1, miss one st; rep from * to last st, 1dc, do not turn. 11dc
(and I'm really sorry but I thought I had photographed this but can't find it, you'll be able to see from the photo in the next step)
Take your hook out and pop the working loop onto a removable stitch marker to stop your work from unravelling while you work with yarn B.
Be sure not to turn your work.
Step 3:
Now we are going to take yarn B and work back along the stitches that were missed in step 2 but we are coming in from behind so you want to insert your hook into the first missed stitch with the first chain in front of the hook but otherwise its front to back as a normal crochet stitch would be.
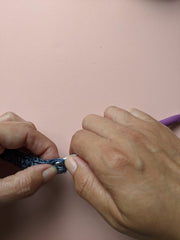
then chain 4 in yarn B. This counts as 1tr and 1ch.

Step 4:
Using the same hook positioning, behind the chain and into the missed stitch, work a treble (US double) and chain 1.

(this photo shows the treble half complete to try and give an idea of stitch placement)
Step 5:
Repeat step 4 in each missed stitch across the row (don't do the chain 1 after the final stitch. You will now have 10 tr in yarn B.

And that's it, you are set up ready to learn how to work the stitches of interlocking crochet and discover how to read the patterns.
Find the rest of the tutorials for interlocking crochet here.
Leave a comment
All comments are moderated before being published.
This site is protected by hCaptcha and the hCaptcha Privacy Policy and Terms of Service apply.