(or at least speed the process up)
Very few people relish the task of weaving in ends at the end of a crochet project. Each project will have at least two yarn ends to deal with and many will have considerably more. A motif based blanket project in multiple colours can easily have hundreds of ends to weave in.
I shared the traditional way to weave in ends in this tutorial - which you will still need for some ends that can't be hidden this way. You may also find this tutorial on changing yarns a useful primer to this tutorial.
Luckily, in crochet, there are ways to weave in as you go and I will share the two main methods here.
Method 1: holding two yarns together.
This method works best when changing yarns of the same colour, for example when you finish one ball and move to the next. I've shown it here changing colour to show how it works but I wouldn't recommend it for this use unless you want a marled look.
Step 1: work until you are ready to change yarns

Step 2: Hold both yarns together and make the stitch with both strands

Step 3: work with both yarns held together for a few stitches - the more stitches the more secure the yarns will be

Step 4: continue in just the new yarn. You can trim the yarn ends close to the work now.

This method is good because it is very secure without any knots and you can adjust the length of time the yarn is held double based on how slippery the yarn is. It works really well in lacey patterns where weaving in can be very hard. It will leave a slightly thickened area which can be visible depending on the design and yarn. You can hide this in some patterns, for example bobbles and puff stitches hide this technique beautifully.
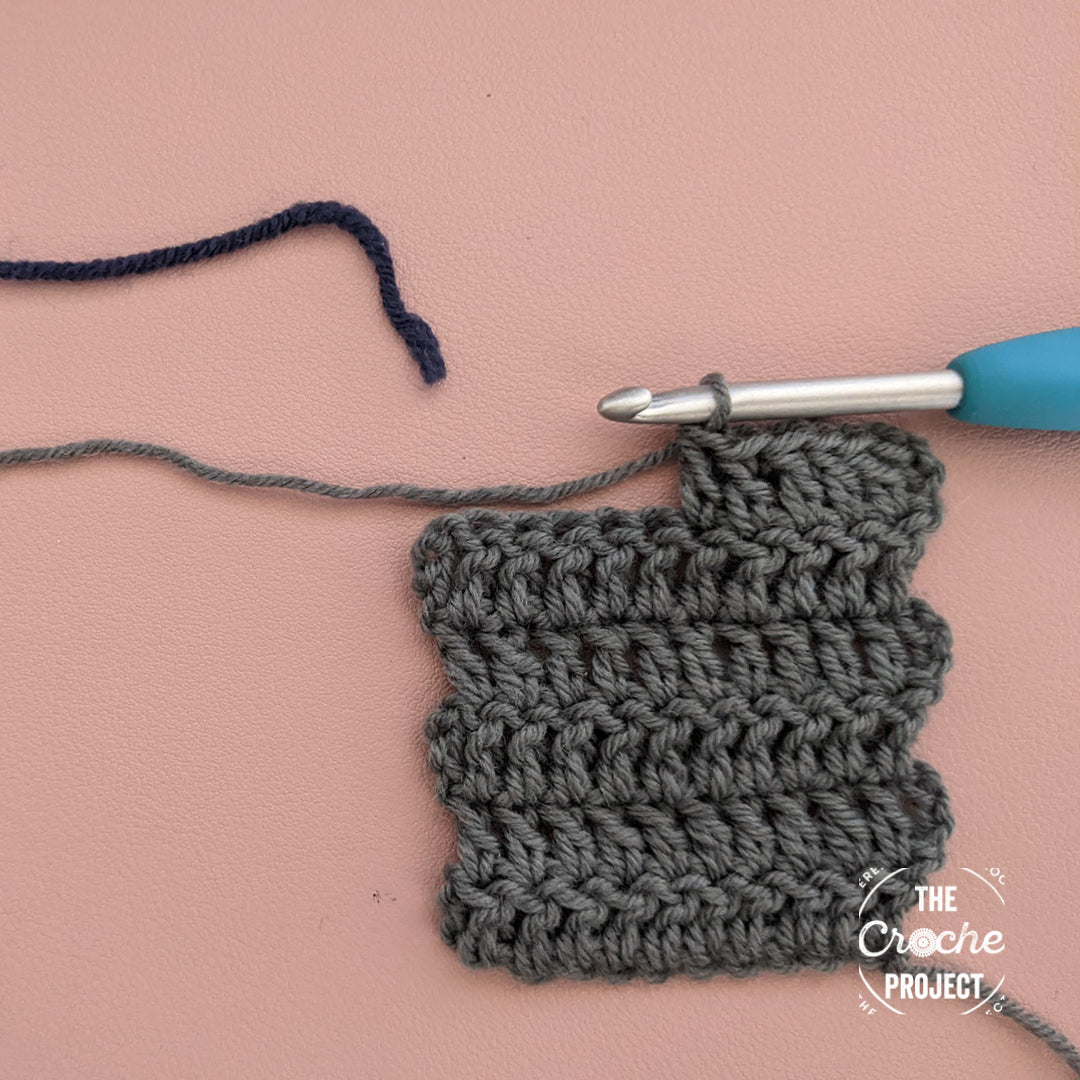
Method 2: Working over the ends
This second method is suitable whether you are changing colour or not. It doesn't work well in more open patterns so save it for when you are doing more solid rows or rounds.
Step 1: Change yarns by dropping the old yarn and pulling through a loop in the new yarn. (you can find a photo tutorial for this here) This method isn't as secure as the first method so I normally tie off the yarn with a flat knot (something like a reef knot will do, it's not important, just try and avoid anything that creates a big hard bump) If the yarn is a stickier wool I often don't bother.

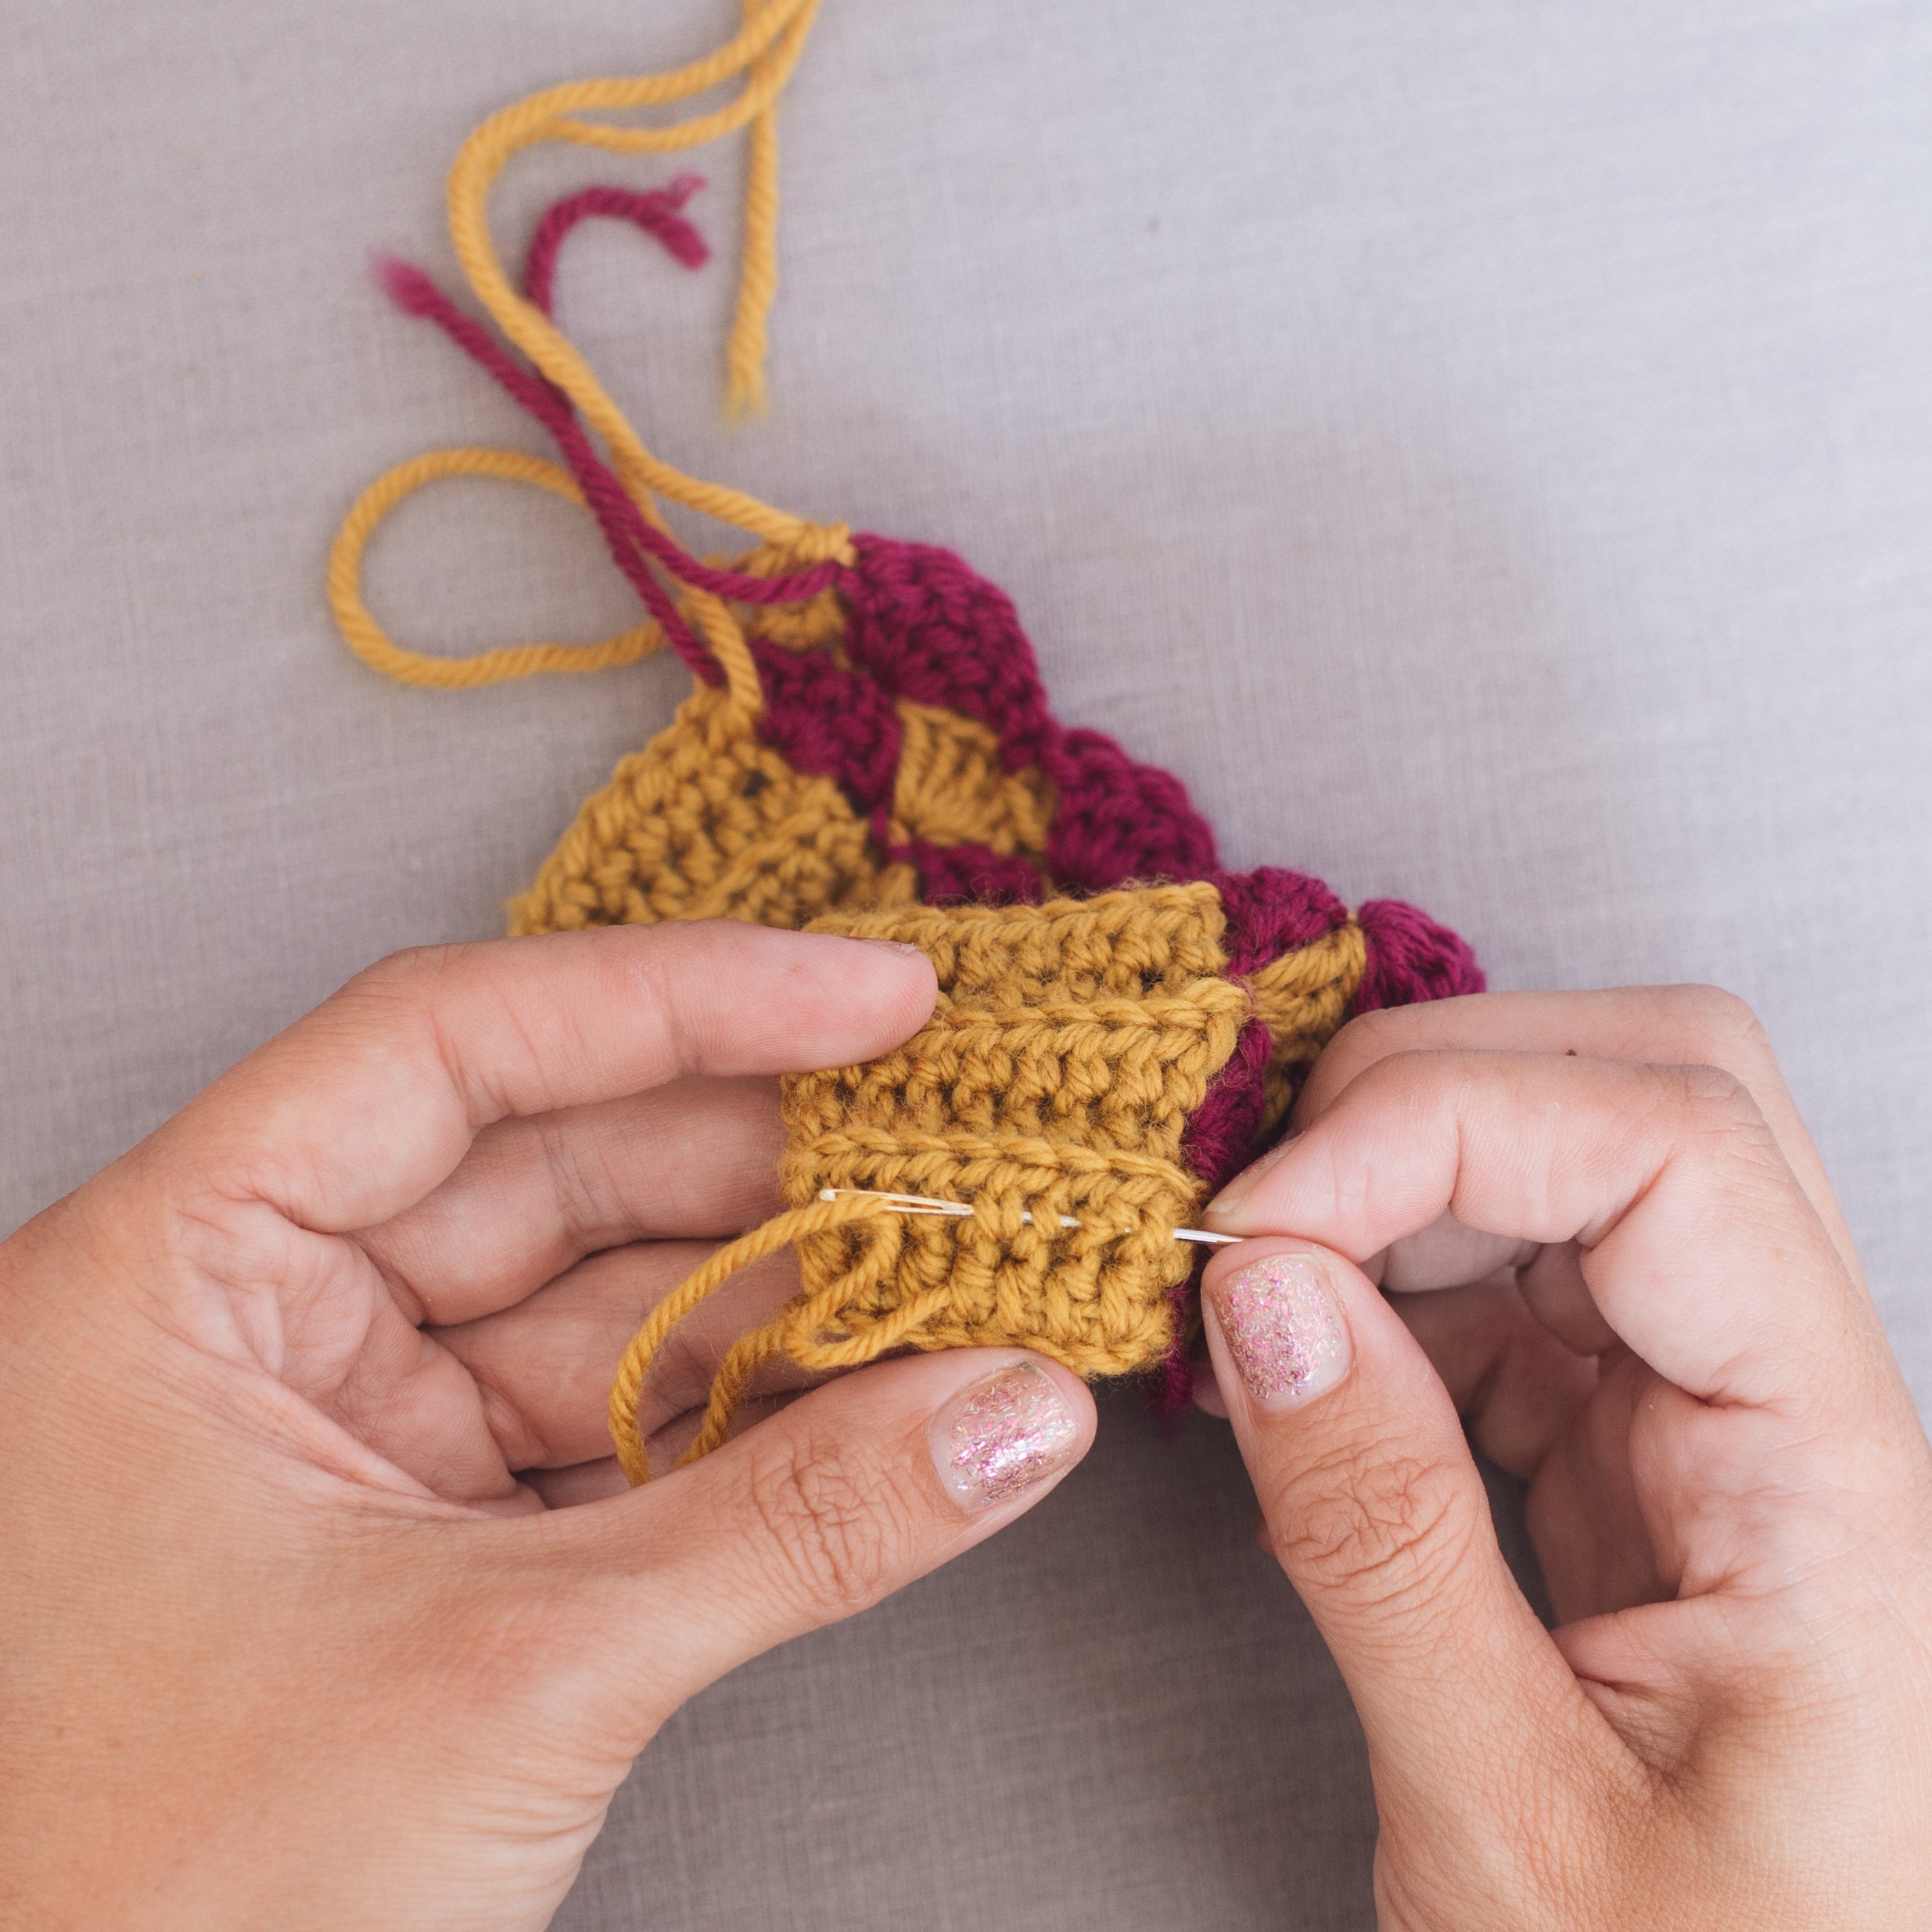
Step 2: Hold both ends (the end of the old yarn and the start of the new) along the top of the stitches on the round or row where you will be working

Step 3: by keeping the working yarn at the back behind the strands (as shown in the picture above) and working into the stitches as normal, the strands will become trapped inside the row of stitches. You can vary how many stitches you work over the yarn ends depending on how slippy the yarn is then trim the yarn ends close afterwards.

This method also works well at the start of a motif.

Although I wouldn't do it with an unsecured magic loop. I use it when working into a chain ring. If a magic loop is called for, I replace it with chain 2 working into the first chain, the slip knot secures the start so I can work over the yarn end easily.

Leave a comment
All comments are moderated before being published.
This site is protected by hCaptcha and the hCaptcha Privacy Policy and Terms of Service apply.