I'm often asked about how I come up with my designs, so I wanted to record the process of one design I worked on, from first winding the skein to pattern launch.
Because so much goes into a pattern creation I've broken it into manageable chunks. The first part of this process is taking the inkling of inspiration and turning it into a workable idea. How inspiration is tested and finessed before you start writing or making. You can read about that in Inspiration to Idea
This post looks at how you turn that idea into a draft pattern.
1/ Grading
Once I have the stitch pattern figured out and how any increases and decrease need to work, the gauge from the swatch and the construction figured out, I can begin the process of working out how it works across a range of sizes.
We size using the Craft Yarn Council size guidelines from their XS (30in/75cm chest) to 5X (62in/160cm chest) I use these sizes as a guide to the average body measurements for someone with that chest measurement but it will never encompass all body types so it is only a starting point.

I start with a base spreadsheet (as you can see, its rather large and detailed) with all the body dimensions they give for each size (eg hip and waist, upper arm, the depth of the armhole, the measurement from back of neck to waist and a variety of others) and I use these to work out the measurements needed to make sure a garment will be comfortable to wear for each of these sizes and will give a very similar look across all of these sizes. (this is known as adding the correct ease)
I work with the numbers first before writing the pattern as often the grading process throws up anomalies (big or small) that make a particular way of writing the pattern trickier and I'd rather not compromise on fit in any size OR pattern fluency. (I can normally tell when a pattern has been written in one size then graded after)
The numbers I create here will be used to create the written pattern. I have a very nifty formula that takes all the size numbers and puts them into the correct format for the pattern which saves a lot of time and makes my patterns more accurate.
Its fair to say that if you don't like maths or spreadsheets you probably won't enjoy being a garment designer. But I really enjoy this part of it.
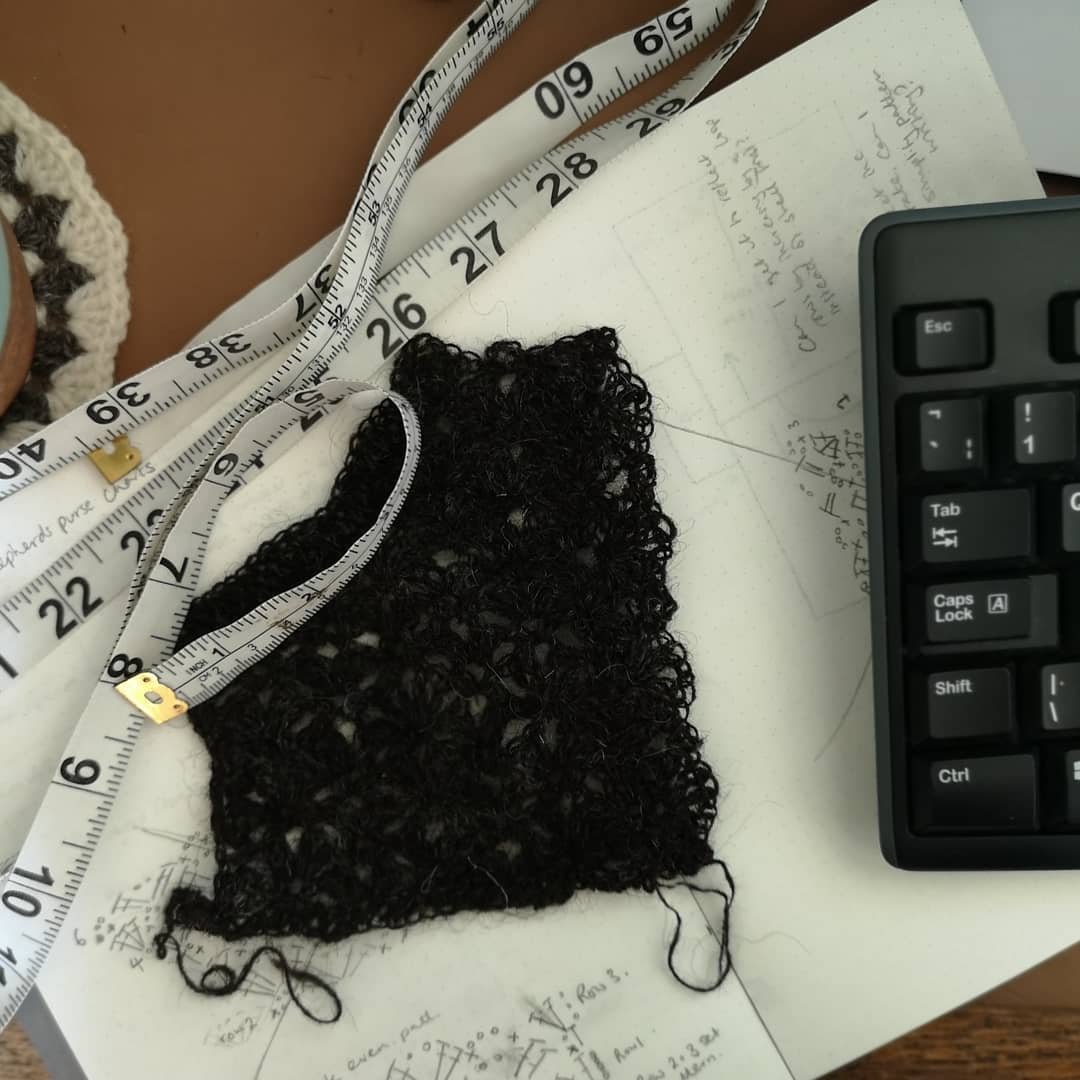
2/ Making
Making and writing are fairly interchangeable for me in the design process. Sometimes I make then write up, sometimes I write then make. It varies depending on complexity and schedule. Part of the grading process is stepping through the pattern to get the figures needed at each point, I've essentially drafted the pattern in maths. Either way I take copious notes as I make if anything differs from what I expected. (I had a minor rip and rethink on the neckline but otherwise this design was smooth sailing)

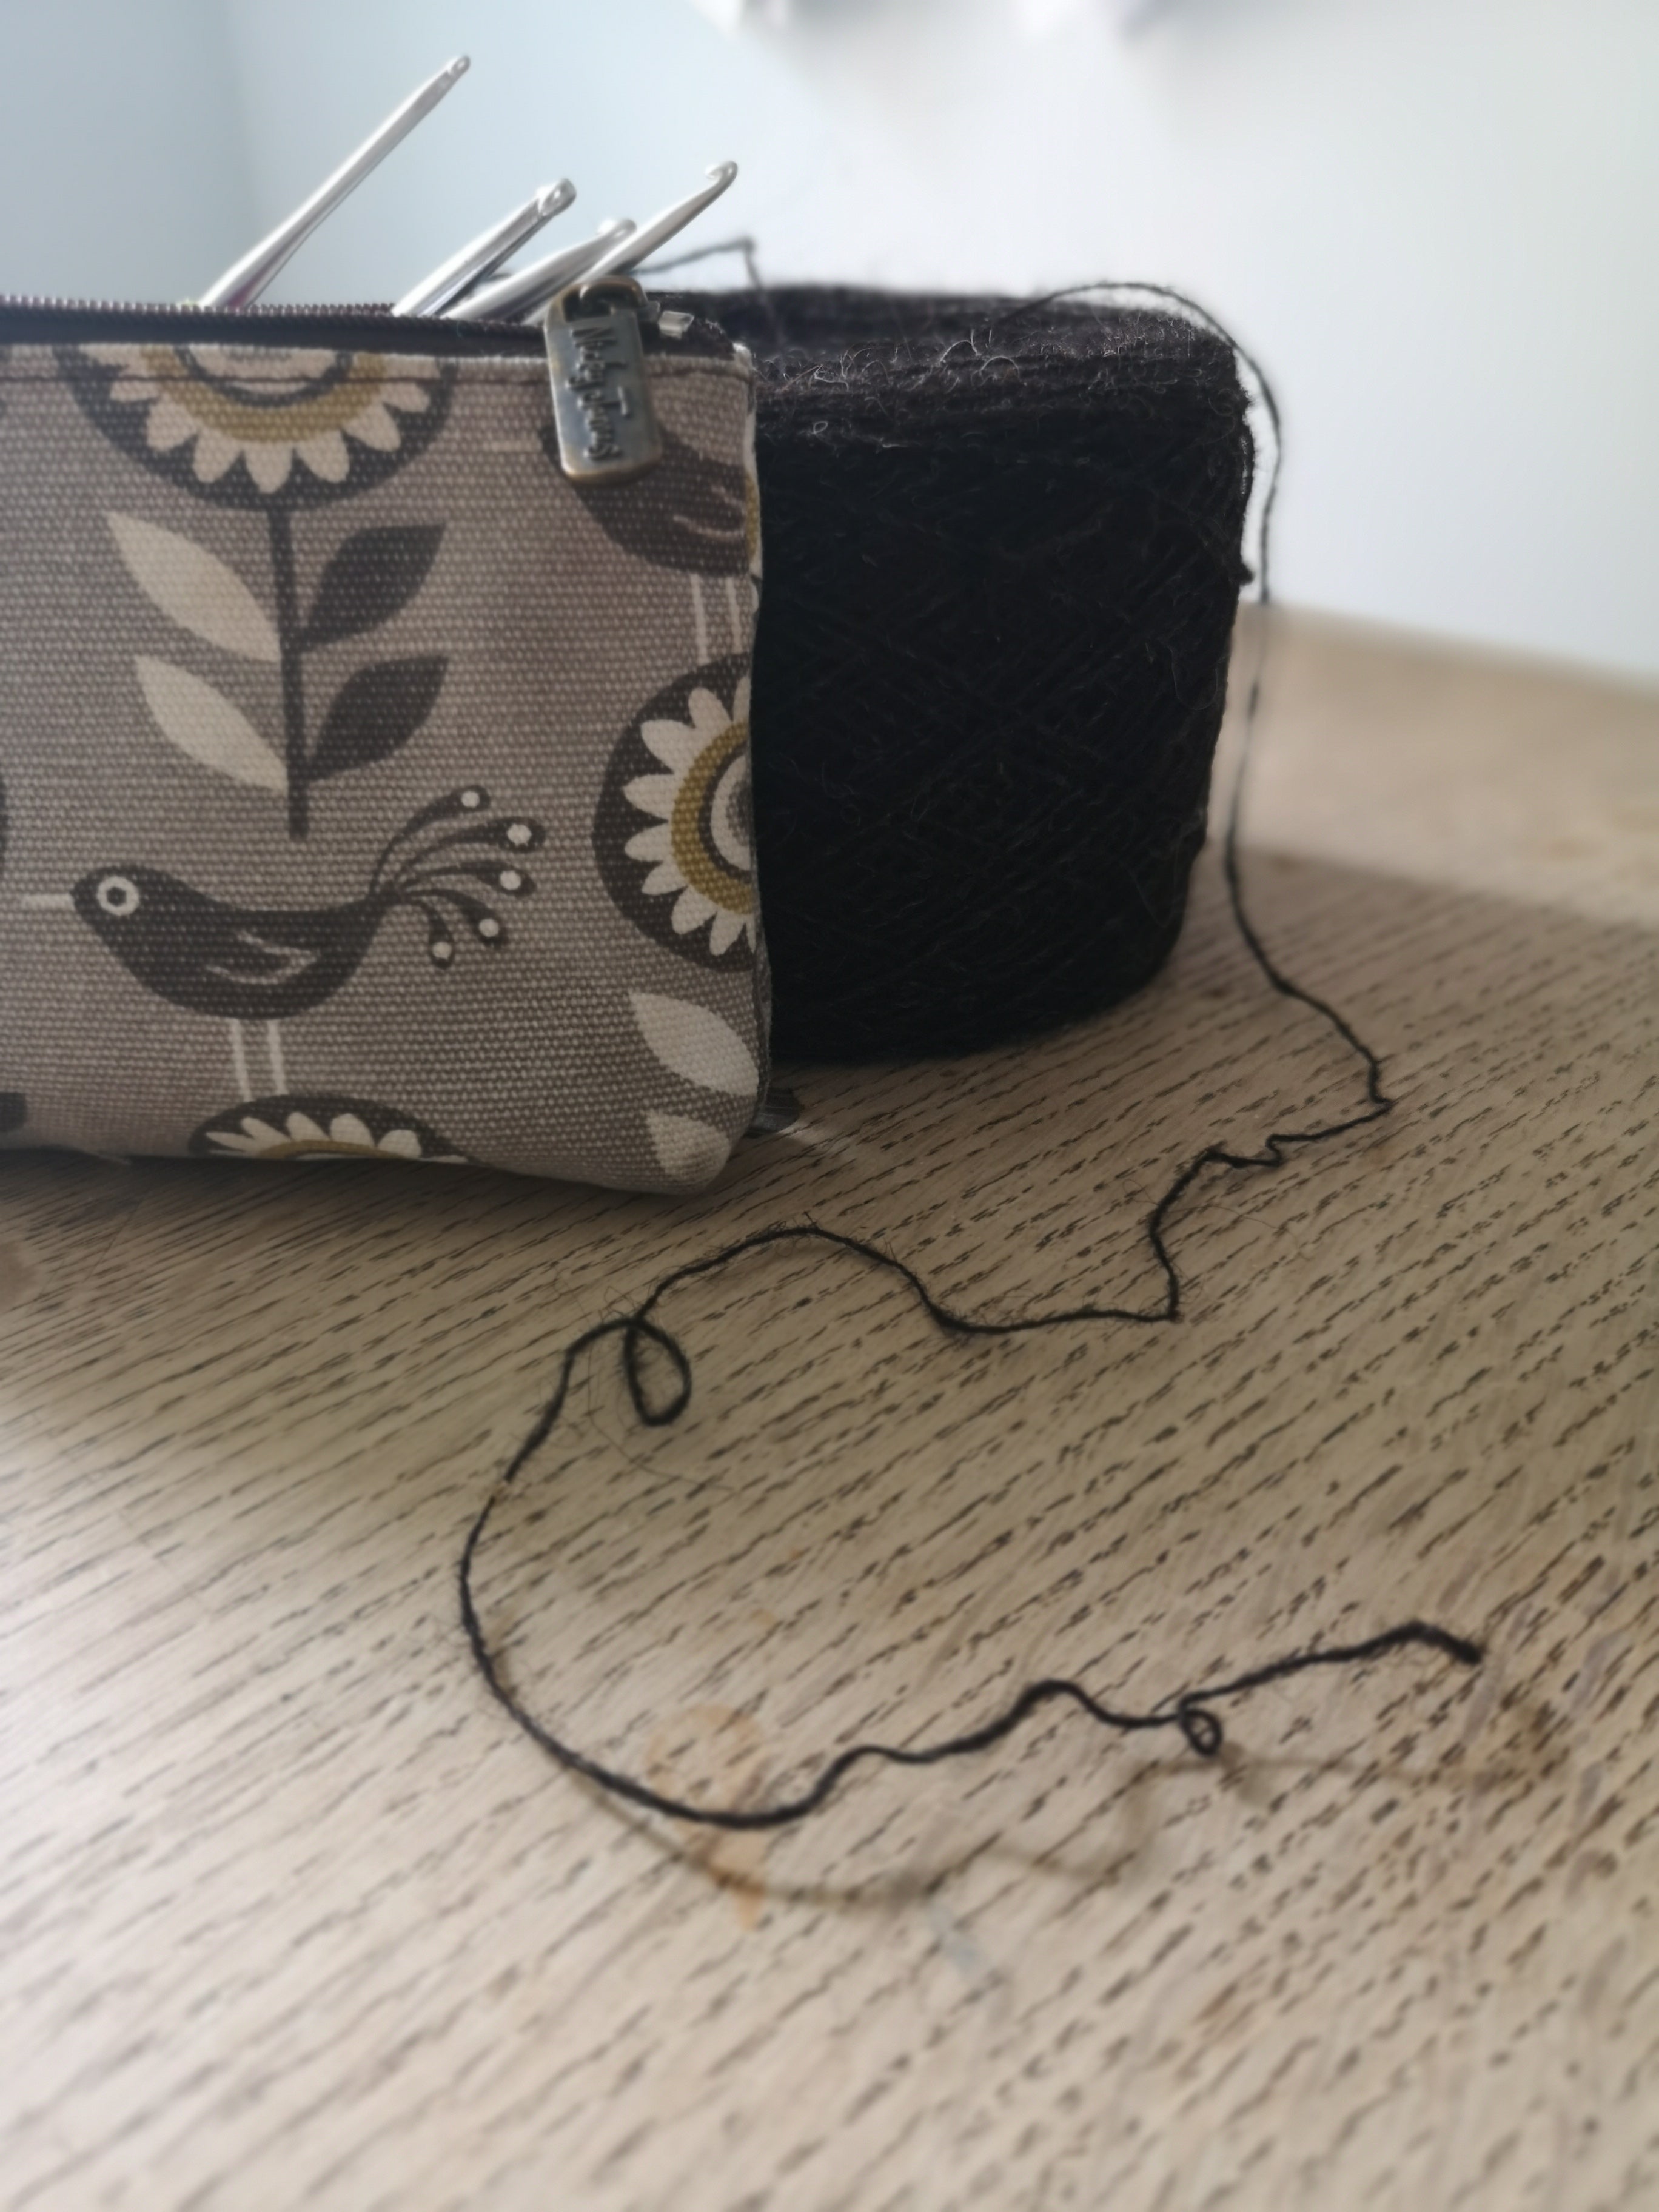
This time around I really wanted to get the item finished so I could get the photos done while I was seeing Kat up in Scotland to run a retreat. In this case, that meant some frantic making. This photo was taken at the airport, waiting for my flight as I was getting very close to the photo deadline.
We call the item a sample, because we are making one size of the pattern for photographic and display purposes. Quite a few designers outsource this step to a sample maker but I enjoy the work and find that it helps my writing to keep it part of the process as a task I do.
When I sample make I tend to indulge in some serious box set binging as I get a show on and quite often crochet for entire working days or longer. I always say that you know you are a crocheter when you are on season three but don't know what half the characters look like, just the sound of their voice. If you want a complete insight into this design, I can tell you that this top was mostly made whilst watching Limitless- loved that series!
3/ Photo shoot
Again, this is interchangeable with writing the pattern. Oftentimes, I'll have the pattern fully written before we meet for the photo shoot. But as we live hundreds of miles from one another we have to take advantage when we get to see each other and that often is what sets the schedule.

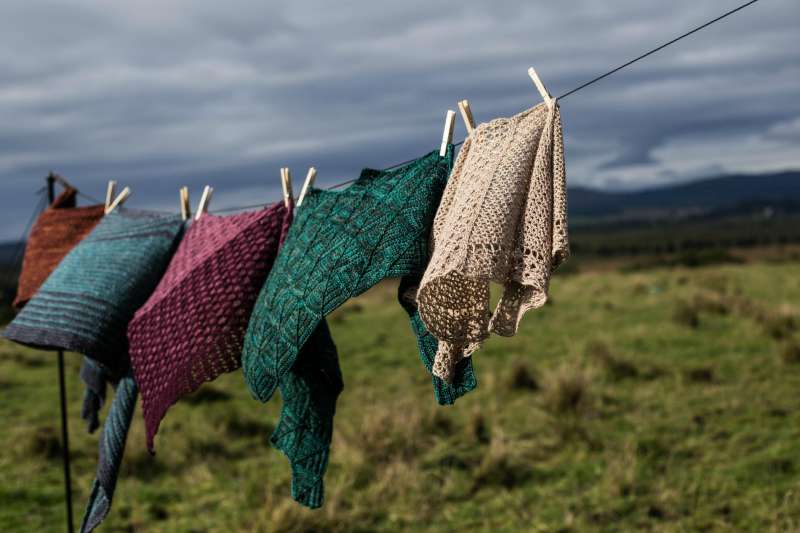
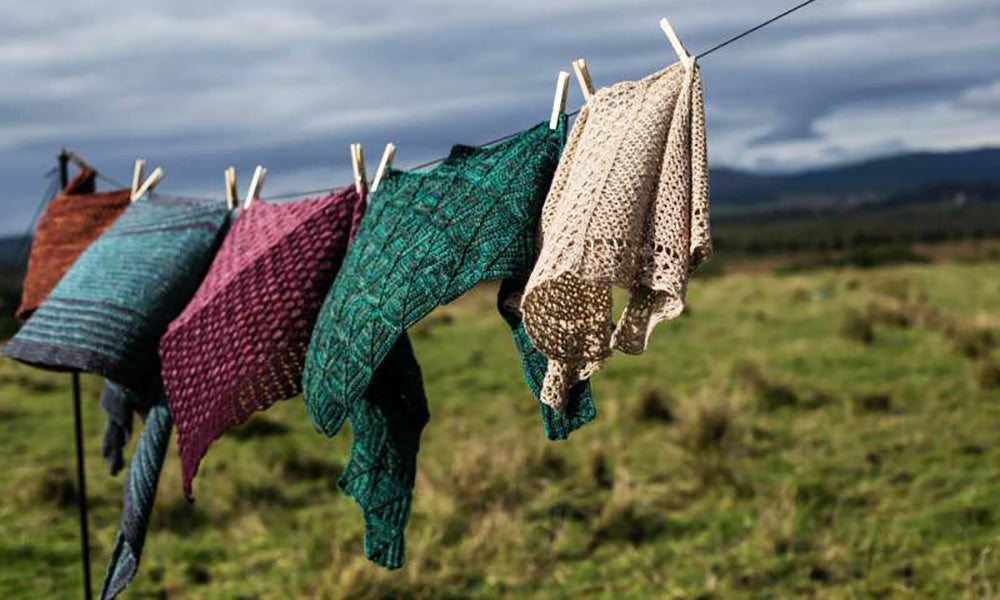
Here we are with Kat shooting and Joanne modelling with the beautiful Trussocks in the background.
We are lucky to be able to keep photography in house as we've been able to keep a strong style direction for our photography by always having the same photographer. Kat likes to use natural directional light. The shoot was aiming to highlight the rustic nature of the yarn and the wild flower inspiration.
As we were shooting on our retreat we had an audience and Kat spent time explaining the process and giving tips to our guests on how to make their finished object photos fabulous.
4/ Pattern writing
Time to go to my notes and the graded spreadsheet and pull it all together into a written document now. Normally this is a fairly speedy process as I have all the info and I work to a rigid style sheet. A style sheet sets out how I write various things, what information needs to be included and in what order they are included. I guess its like a template with a glossary attached. This speeds up writing as I'm not reinventing the wheel each time. It helps the tech editing team in the next step too.

I use a word document for writing, filling out the details and carrying numbers through from the spreadsheet. While I'm writing I'm mindful of making everything as clear as I can for the reader and also thinking about what alterations they might want to make and describing how to do those.
Because we print our patterns (and anticipate that the pdf patterns will be printed at home) I'm always mindful of word count and being efficient in my writing.
Now we have taken the idea and turned it into almost a product. Everything ready in its draft stage. In the next section we will look at how we go from draft to published.
If you'd like to see the finished pattern that resulted from this process then you can find it here:
And if you are a designer, perhaps beginning your journey or just wanting to improve your publishing skills, you may be interested in our online classes for professionals:
Leave a comment
All comments are moderated before being published.
This site is protected by hCaptcha and the hCaptcha Privacy Policy and Terms of Service apply.