
You spent hours on it, the yarn cost you a small fortune and its your favourite cardigan! Rips, tears and unintented holes can be so sad but they don't have to be the end of the life of your piece. With a bit of care, time and knowledge you can make that piece as good as new, or maybe even better.
Mending your pieces rather than throwing them away is better for the environment too, even natural fibres that will break down over time used water and energy to produce so increasing the lifespan of your crochet makes sense.
Sentimental value can be the strongest pull to repair an item. The mend I am going to show you has been worked on my daughter's baby blanket. I remember the long warm summer days when I was pregnant with her working on it at the park while her brothers played, dreaming and imagining the baby I was carrying. A few careful stitches lets that keepsake, and so the memories, live on.

Unravelling can be caused by improperly secured ends. It often happens at the centre of motifs where a magic loop has turned out to not be so magic, but it can also happen where factory knots in the yarn were left and have come untied over time or wherever there is a yarn change. A nasty snag can cause a single strand of yarn to break and you will have the same type of problem. Caught early, all of these can be quickly repaired using the "Swiss" method. If the unravelling has been allowed to continue unchecked then a traditional darn or a section replacement might need to be undertaken.
The old maxim "A stitch in time saves nine" was never more applicable than with crochet repairs. Its far easier to repair a hole when its small before the piece starts to really unravel. Looking at the various techniques you'll see that "Swiss" darning is much quicker and less obvious to repair one or two stitches than a traditional darn and that uses less time and effort than replacement.
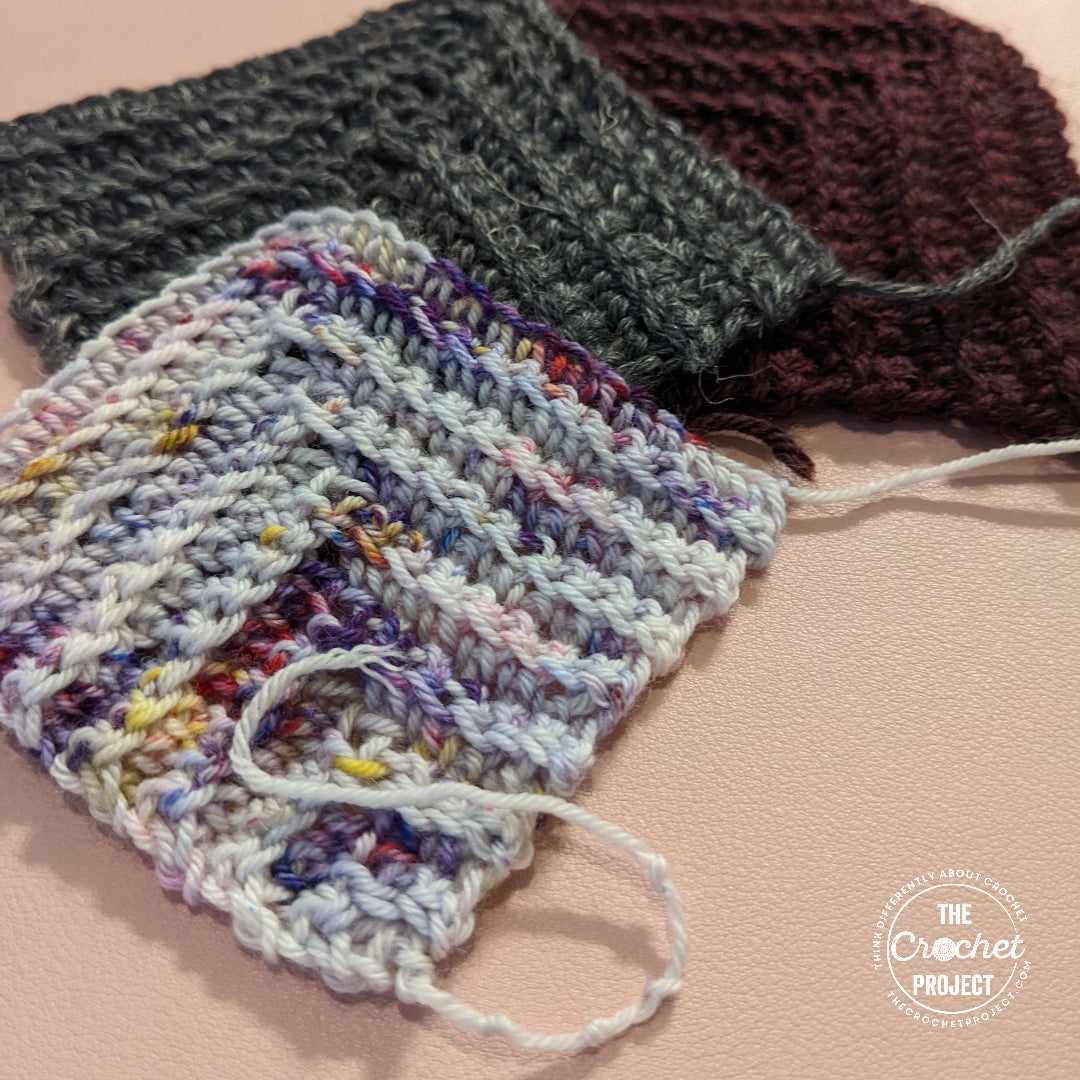
Ideally you will need a yarn that is the same weight as the original.
If you wish to hide the repair you will need to make sure you get as close to the original colour and fibre type as possible. If you made a swatch, and can find it, this can be unravelled to provide yarn for any repair. Organised crocheters make life easier for themselves in the future, every time!
I've called this technique "Swiss" with quote marks for a reason. Swiss darning in knitting is worked with a needle and yarn and follows the line of the knitted stitch. Its often used decoratively but also creates a reinforcement for thinning areas. As far as I can tell there isn't a tradition of following the line of the stitch in crochet so I'm borrowing the term from knitting. Taking a needle and thread the yarn is sewn and wrapped to imitate the crocheted stitch.
You can find my favourite darning needle here.
This technique is best employed when a strand has come unravelled and you can clearly see the line of where the yarn should go. Get in there quickly before it unravels further.
How to:

Step 1: Thread the yarn onto the needle and weave in through a few stitches before the unravelling section.

Step 2: Pass the needle along the path of where the stitch has unravelled. In this case it is through the strands of the stitch above, this would have been a chain but as it is hidden by the stitches above there is no need to recreate this.

Step 3: Rejoin the yarn to where the unravelling started/ stopped making sure you attach it to a solid stitch

Step 4: Weave in yarn to past the point of unravelling to strengthen the repair and fasten off.
As you can see, below, the finished repair is almost invisible even worked in a contrast yarn. With a matching yarn you would never know the original had been damaged.

Leave a comment
All comments are moderated before being published.
This site is protected by hCaptcha and the hCaptcha Privacy Policy and Terms of Service apply.