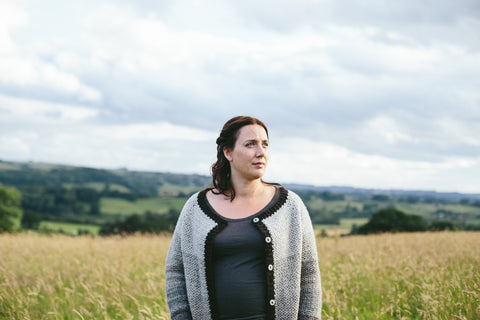
Perhaps the biggest challenge in making a garment is getting it to fit. Accessories that need to fit such as hats and mittens are smaller and its less drastic if you have to rip back or start over if you've made the wrong size. However, there is nothing worse than spending hours on a garment and then trying it on to see that it is completely wrong.
Getting Your Measurements Right
Before you begin you will need to measure yourself or your intended recipient. We recommend that you measure bust/chest at the fullest point and upper arms before choosing a size.
It is best not to measure yourself: a more accurate reading is achieved by asking a friend to help. As a cardigan is intended to go over a top, there is no need to measure undressed. Ensure the tape comes all the way around at the same level without twisting. Once you have your body measurements you will need to add ease to that number to find the right size.
Ease is the amount of extra room in your sweater. You add the ease to your actual measurements to give you the finished size to make. This will depend on the style of the sweater and your own personal preferences. We have given a suggested amount of ease to add in each pattern. It can be helpful to take a cardigan that you like the fit of and measure that and compare it to your body measurements to get an idea of the amount of ease you find comfortable. As a guide 2”/5cm ease gives a slim fit, 4”/10cm gives a loose fit.
Add the ease you would like to your bust/chest measurement and choose the most appropriate size from the list. Double check the size is suitable by adding ease to the upper arm measurement and comparing that to the information in the schematic.
You should then consider waist and hip measurements and lengths from neck or underarm to hem and from underarm to desired sleeve length. These will need to be checked against the schematic to see whether the selected size can be made as written or whether you will need to make some small adjustments for a good fit.
Working with Sized Patterns
Garment patterns are typically written in multiple sizes, for example our book Three from the Top has sizing from baby up to a UK Ladies size 26 (European 54/ US 22/ 5X) They are shown in brackets as follows:
{0-6m, 12-18m, 2y, 4y, 6y, 8y, 10y}[XS, S, M, L](1X, 2X, 3X, 4X, 5X)
Child sizes are shown in curly {} brackets separated by commas. Adult sizes XS-L are shown in square [] brackets separated with a comma. Adult sizes 1X to 5X are shown in parenthesis () separated with a comma.
Choose the size you would like to make, using the guidance below, and highlight or circle that size throughout the pattern to help you keep on track.
Where a zero is used, you do not need to work the instructions for this size. If only one number is given within the bracket, eg {5}{6}{7} tr, it applies to all sizes within that bracket. If only one number is given, eg 3 tr, then it applies to all sizes.
Sometimes whole sections will be only for certain sizes. If your size isn’t listed move onto the next section that your size is listed in or section for ALL sizes.
On the Subject of Tension
Of course, choosing the right size is pointless if you aren’t working to the correct tension.
The correct way to measure tension is as follows:
Make a tension square at least 6 inches (take the number of stitches given in the tension information and add a few) using the stitch suggested in the pattern in the yarn you plan to use with the hook you plan to use.
Measure the tension before you block it and keep a note so that you can check your tension while crocheting.
Wash the piece as you will wash the finished object and leave to dry. Measure and compare to the tension information.
If you have too many stitches/rows your finished object will be too small. Repeat the tension square with larger needles/hook. If you have too few stitches/rows your finished object will be too big. Repeat the tension square with smaller needles/hook.
With cardigans, especially adult garments, it is a false economy in time to skip this step.
Hope this helps get you on your way to making the right size!
Ready to get going? Shop our collection of garments




Leave a comment
All comments are moderated before being published.
This site is protected by hCaptcha and the hCaptcha Privacy Policy and Terms of Service apply.